Showing posts with label alterations. Show all posts

Thursday, 4 October 2018

Re-making homemade clothes (now with added pockets!)

Making your own clothes can be a great way to opt out of the cycle of fast fashion impulse purchases and inevitable dissatisfaction. It will teach you the worth of clothes, as you’ll learn how long they take to make and the variety of skills you need. It can also be an opportunity to finally have clothes that fit properly, rather than having to make do with the imperfect sizing of mass-produced clothing. But there are also pitfalls to making your own clothes, so how do we overcome these to make home dressmaking truly sustainable?


One of the main advantages of making your own clothes is that you can make something to your exact specifications. But when you’re short on time or money, it’s all too tempting to cut corners in order to have something new to wear as soon as possible. It’s also easy to be seduced by fabric that might not fit with your personal style, to buy more fabric than you’ll ever be able to use or to make things you might not want to wear over and over again. The cycle of overconsumption is difficult to break out of, even when it comes to hobbies that can have many positive benefits. 


I made a dress and cardigan-style jacket about five years ago, but I had noticed that they had crept to the back of my wardrobe, and I’d constantly favoured other clothes over them. I didn’t want to get rid of them, but I did have to be honest with myself about why I wasn’t wearing them, and work on ways to make them more wearable. 


At the Style Yourself Sustainable event (find out more in this blog post), Alex from Sewrendipity spoke about her handmade wardrobe, and the pride she takes in all her creations. She keeps everything she makes, but frequently goes back and fixes faults in garments she made earlier in her sewing career as her knowledge of techniques improves. One of the things I love about sewing, and why it has made such a satisfying career for me, is that there is always something new to learn. Even though I sew professionally, I’d be the first to admit that I cut corners when I make things for myself, and that there is always room for improvement!


My navy dress was a nice shape, but it was very plain, and it could definitely have benefitted from the edition of some pockets! I’d kept the leftover original fabric (I must have subconsciously realised that I needed to go back and add to it) so adding pockets wasn’t a difficult job (to find out more about adding pockets to your clothes, check out my previous blog post about pockets). 


I realised I’d been quite reluctant to go back to the dress and add pockets because I’d considered it finished, so I was interested to see Amy Twigger Holroyd discuss this problem in her book Folk Fashion: Understanding Homemade Clothes. Over the course of her research, Amy had discovered that makers were more reluctant to go back and fix shop-bought or finished homemade items, as the complete or “closed” nature of these garments made them more intimidating to tackle. Clothes that were damaged or unfinished were seen as less daunting because they were “open”, inviting the maker to alter or fix them. Despite ignoring the dress for a year, it only took me an hour to add the pockets, and I wish I’d done it sooner! 


I also wanted to embellish the dress, so the simple pattern of running stitches around the neckline, waist and hem became something I could do without having to apply much thought on long train journeys, or when I wanted something to do with my hands while watching TV (If anyone else struggles to stop multi-screening I’d definitely suggest a simple embroidery project). The fabric of the dress looks interesting up close, but looks dull and flat from far away, so the glossiness of the thread adds a new layer of texture. Keeping the thread the same colour as the dress fabric means the embroidery isn’t overwhelming; it draws attention to the cut of the dress rather than overpowering it.


My jacket was even simpler to tackle: of course the main issue (again) was that I hadn’t added pockets! I didn’t just want to slap on a plain square patch pocket, so I used the reverse side of the fabric, matched the motifs up with the ones on the coat, and cut pocket shapes that echoed the shapes on the fabric. This has added a bit of textural interest to an otherwise flat and boxy garment, and the slight slouchiness of the pockets adds a bit of volume over the hips, subtly altering the proportions of the jacket without adding more waist shaping, which would have changed my original design. 


By looking through my wardrobe and working out which garments I preferred wearing and why, I was able to make alterations to this dress and jacket to make them more wearable. The issue of pockets (or the lack thereof) in women’s clothing is a bit of a hot topic right now, but I genuinely feel frustrated with an outfit if it doesn’t have pockets. I carry a backpack most days when I travel to work, so I need somewhere safe and accessible to put my phone and Oyster card. And yes, I know we probably shouldn’t be as reliant on our phones as we are, but I like to listen to podcasts on mine at work. A phone-sized pocket means I don’t have to waste time fiddling with my phone and headphones every time I leave my desk to go to my sewing machine or the iron (some of my colleagues have made little cross-body pouches for their phones or MP3 players, so maybe this is a topic for another time?)


The best thing about making or altering our own clothes is that we get to decide which features are important to us. Fast fashion cost-cutting means we aren’t going to get everything we want from a garment. Breaking out of the fast fashion cycle means retraining ourselves to see our clothes as “open” garments which can change with us, and seeing the time we put into improving our clothes as time well spent.

Thursday, 20 September 2018

My Slow Fashion Summer: no new clothes for three months!

I know some readers are probably rolling their eyes at the title for this week’s blog post. I know I am lucky to be able to afford new clothes fairly regularly, and that many people have to prioritise other expenses when they really do need new clothes for themselves or their families.


Collaction's Slow Fashion Summer isn’t about shaming people for their shopping habits, it’s about challenging the way the fashion industry tries to drive consumer demand. With high street fashion chains launching new stock in store every couple of weeks, we are encouraged to become dissatisfied with our clothes faster than ever before. The average item of clothing is only worn four times before being discarded, so refusing to buy into this for a few months is a good way to reassess the way we shop.

The rules of the Slow Fashion Challenge only stipulated no new clothes, so here are all the alternatives I found to ensure I could still have a fabulous summer wardrobe!


Wear clothes that are waiting to be worn
Being a vintage fashion fan means snapping up those bargains whenever you see them, so I bought summer dresses in the autumn and winter, then had to wait for the appropriate weather to wear them! The wait was worth it though; I’ve had so much enjoyment (and some lovely compliments!) from wearing these fab frocks! You can check out some of my other vintage finds here.


Clothes swaps
Even when we shop sensibly, we still end up with clothes that we don’t really wear any more. As well as rummaging through my sister’s cast-offs and picking out a few gems, I also went to Walk In Wardrobe and exchanged some of my old clothes for some lovely new ones! Stylist Daisy Schubert has come up with an innovative “rule” for her swap shop: you’re not limited to a number of items, you just have to try everything on to make sure you actually like it! That way everyone ends up with clothes they will actually wear, rather than more items destined for the back of the wardrobe.


Charity shops
Giving to a good cause and stopping secondhand clothes from ending up in landfill means that buying clothes from charity shops is very much still allowed under the rules of the Slow Fashion Challenge! In the spirit of the challenge I didn’t indulge in a lot of impulse buys, but I did treat myself to this straw hat to keep myself cool in the heatwave!

Rent a one-off outfit
For anyone who is expected to have an ever-rotating wardrobe of fabulous clothes for events, clothing hire service Wear the Walk has you covered! I wrote about my experience hiring clothes from them in this post.


Transform the clothes you are reluctant to wear
I had picked up a silk playsuit at a clothes swap years ago because I loved the style, but I never really felt that the peach colour suited me. An hour with a bucket, a pair of thick rubber gloves and a sachet of hand dye, I had a playsuit that was much more my style!


Use up your fabric stash
If you make your own clothes, it can be tempting to fall into the trap of impulse-buying new fabric for projects before you use up the fabric that’s already in your stash. And if, like me, you love buying vintage fabrics, special finds can end up cluttering up your cupboards for months while you wait for inspiration to strike!

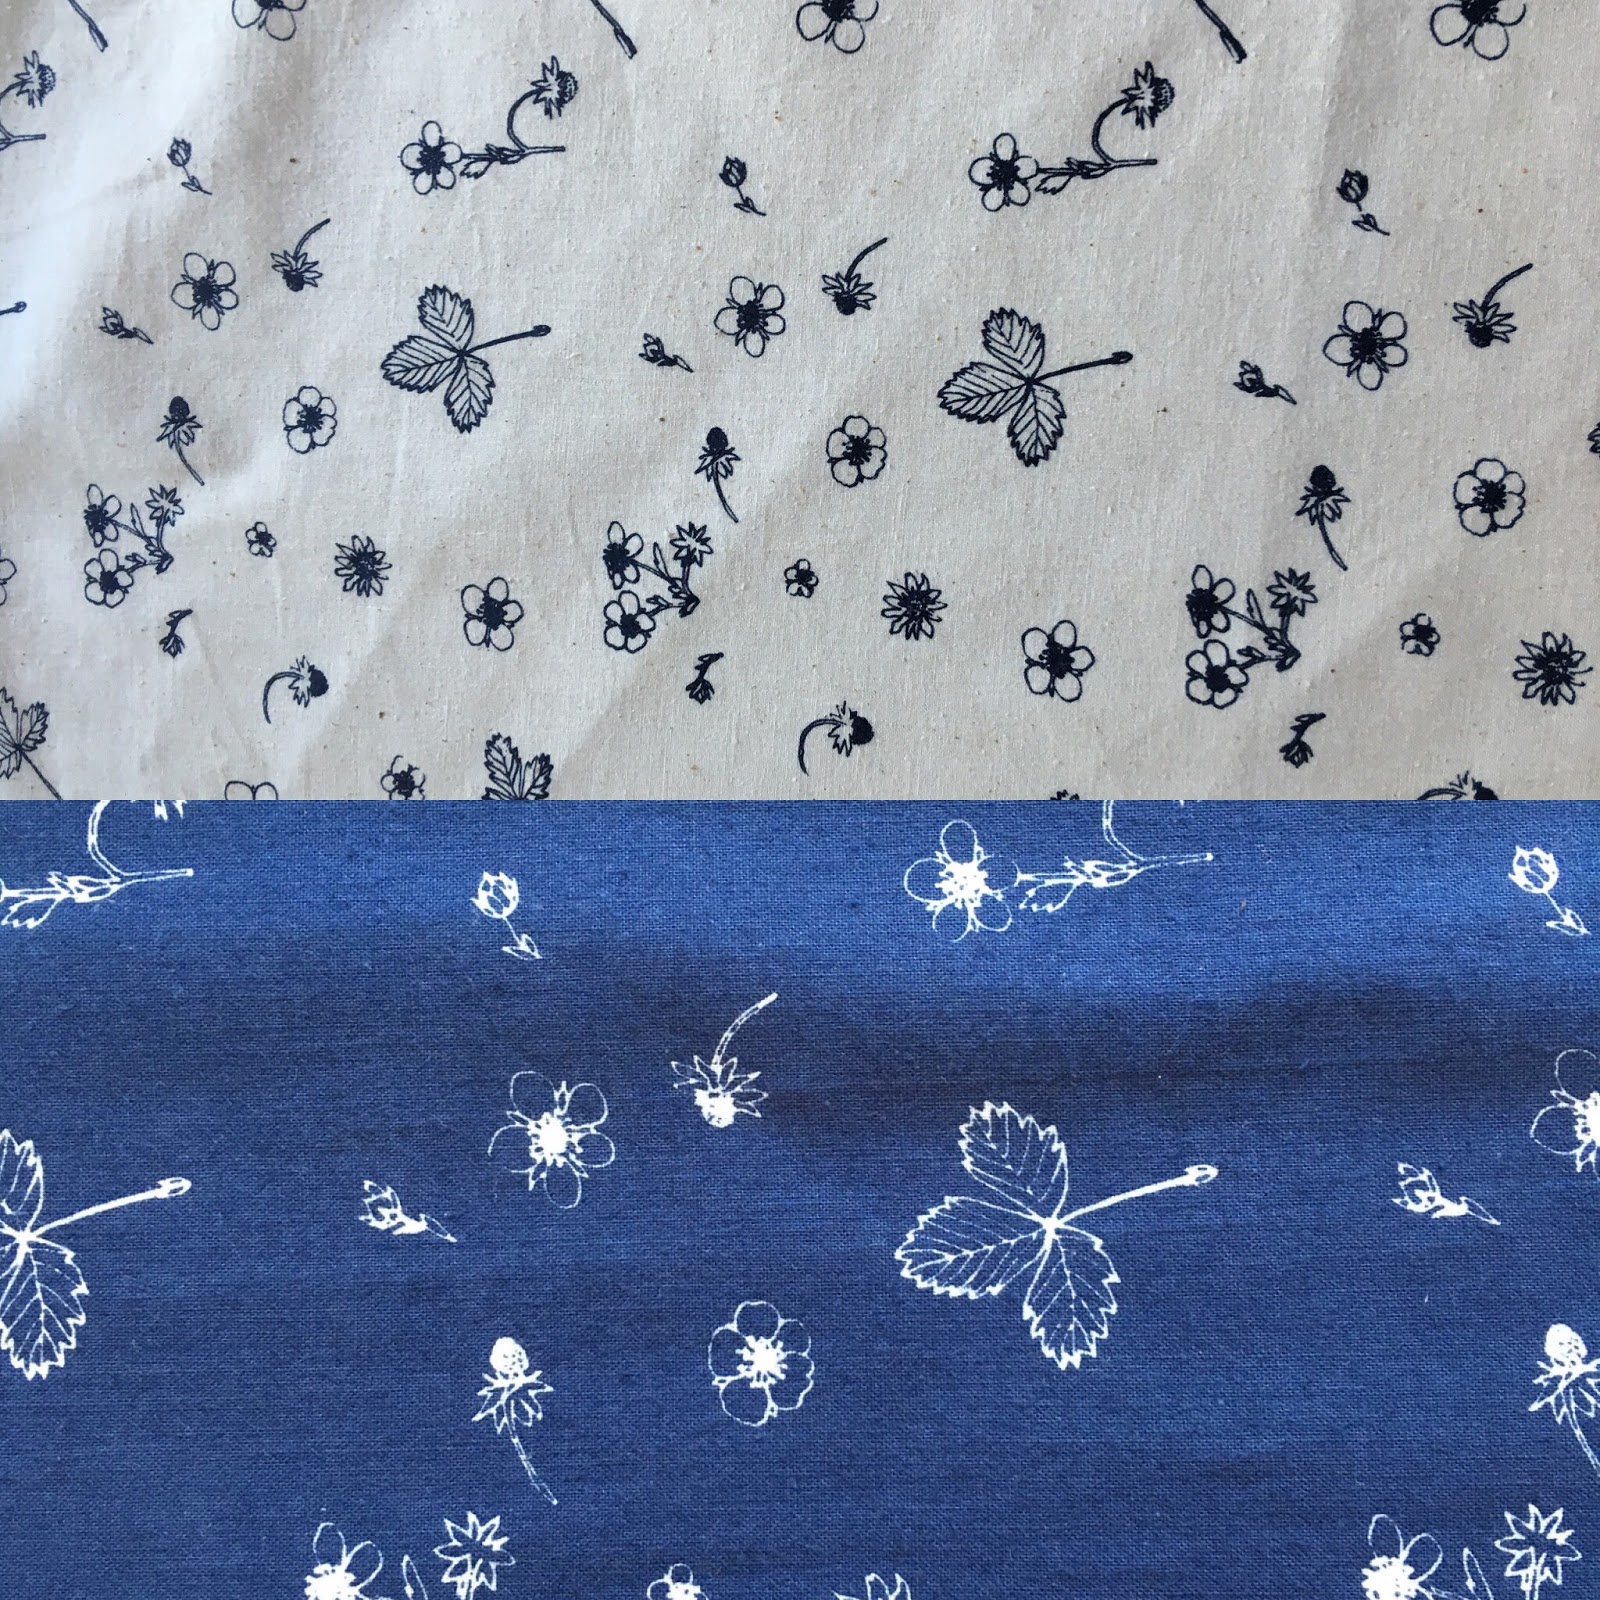
I only had a 70cm long piece of this blue fabric, and 90cms of the contrasting cream, so I knew I wanted to use them in the most efficient way possible. I ended up making this two-piece ensemble, with only a handful of scraps left over. I was also able to use up a few mother of pearl buttons from my button stash to add an interesting fastening detail.


Break the rules
So, did I go three months without buying anything new? Almost. I’d like to think that my one new purchase was for a good reason, though. Sophie, the owner of Gung Ho Design, also runs monthly beach clean-ups on the Thames foreshore. Seeing an ethical brand owner really living her values made me want to support what she is doing, so I treated myself to a pair of Gung Ho earrings (as well as going to the beach clean-up, obviously)!


Knowing what we already have in our wardrobes, and thinking about how we can transform average clothes into clothes we love, or swap clothes we don’t love for clothes we do, means we don’t have to head to the shops nearly so often. Organising or going to a clothes swap is much more sociable than filling our online shopping carts with impulse purchases, and sewing some simple alterations can make our clothes fit better, and give us a new appreciation for the people who made them! I might have to make a few new (ethical) clothing purchases as we head into autumn, but I’m also working on plenty of alteration and embellishment projects, so check back soon for more sustainable fashion inspiration!

Thursday, 2 August 2018

Behind the seams of a bespoke wedding dress


This time last year I had just completed my most important and personal private commission: my sister’s wedding dress! Six months of planning, fabric sourcing, endless scrolling through Pinterest and working pretty much every Saturday to create the perfect dress for my favourite person. As it’s her first wedding anniversary this weekend, I’m sharing (with her permission, of course!) some of the “behind the seams” details about what goes into the creation of a bespoke garment, why it costs more, and why we should extend that “special day” mentality to our everyday wardrobes.


Choosing fabrics

Designer Cristobal Balenciaga said he would always let the fabric choices determine what was being made (“it is the fabric that decides”) and it’s important to remember that fabric choice will affect the shape and movement of a garment. As my boss is fond of saying, “these are hands, not wands!” and even the most skilled dressmaker cannot persuade fabric to disobey the laws of physics! 

Rosie knew straight away what sort of skirt she wanted: something full but soft, topped with layers of white tulle. We built the skirt from five separate layers of fabric:
  • a silk and cotton mix for the petticoat: soft and light but not static, so it wouldn’t stick to her legs. 
  • A layer of cotton bobbinet to give the skirt shape and body. This would be scratchy if it was worn next to the skin, so the petticoat layer was important. 
  • A panelled skirt made from silk, custom-dyed a silvery grey to break up the white and add depth. The panels ensure a smooth fit from the waist, while adding fullness at the hem and a bit of extra length at the back. 
  • Two layers of silk tulle, which is very soft but surprisingly durable and resistant to ripping. This was carefully gathered to add extra fullness at the back. 


All these layers were stitched to a peplum made from a stiff coutil, fitted from Rosie’s waist to her top hip. 


One of the ways that mass-production of clothing saves money is its economies of scale: fabric costs less per metre if you are buying five thousand metres rather than just five.  Fast fashion manufacturers aren’t too fussy about the quality of a lot of their fabrics: online shopping means that customers don’t get to feel the clothes until after they have purchased them, and the draw of the garments isn’t sensual luxury, it’s a must-have micro-trend or a too-good-to-be-true price. A wedding dress needs fabrics that are perfect for those up-close-and-personal moments: tactile guests (and the bride’s spouse, of course, not to mention the bride herself!) are expecting something that feels special. 

Natural fabrics have a beautiful movement to them which Rosie’s wedding photographer Emma at Epic Love Story* captured perfectly. I was delighted that the dress looked so wonderful mid-twirl, but it wasn’t a happy accident. Each element of the skirt was carefully planned to achieve this effect.


Firm foundations

Rosie had her heart set on a dress with a cut-out back and a sheer top, and she also had her heart set on one heck of an evening party, so we knew straight away that this dress was going to need bespoke underwear. too. There are some occasions where a stick-on backless bra just isn’t going to cut it.

Lingerie pattern cutting is a very specific skill and not one I have a lot of experience with, so it took three fittings and a lot of pattern adjustment to create the perfect cup shape for the backless bustier that Rosie would wear under the dress. Working on perfecting a pattern is always time well spent, but in a factory setting this pattern would then be used for thousands of garments. For a bespoke piece, the pattern is used only once, and then the whole process begins again for the next garment. 

Another important pattern piece to get right was the peplum for the different layers of the skirt to attach to. This had to fit snugly from the waist to the top hip as the bustier would be attached to it with hooks to give the backless foundation garment some stability. 


I made the bustier from silk jersey stretched over powermesh, and boned each seam. As well as adding hooks to the bottom of the bustier to attach it to the skirt peplum, I also added clear plastic bra straps over the shoulders for extra security. We checked the whole get-up at the last fitting; as well as ensuring that Rosie could walk and sit without coming unhooked, I also encouraged her to bounce around in an enthusiastic dance to make sure that there wouldn’t be any wardrobe malfunctions mid-party! 

While high street garments are fitted at the product development stage, usually on a fit model who maintains a specific set of vital statistics, these fittings probably aren’t as rigorous as they ought to be, judging by some of the clothes that make it into the shops! Anyone who has tried to sit or (ouch!) bend over in a jumpsuit that looked fine when you were just standing in front of a mirror, or has felt an entire outfit travel upwards when you lift your arms (see my post on why sleeves are terrible here) will know what I’m talking about. With bespoke clothing, you have the option to try out anything you need to be able to do while wearing your garment to check that it’s fit for purpose. 

Foundation garments might have old-fashioned connotations, but they are a key part of so many formal and red carpet looks. The perfect underwear for an outfit doesn’t have to be invisible, but it should be well-fitting and comfortable! 


Something old, something new...

We chose traditional fabrics for the skirt for Rosie’s dress, but we ended up using a modern fabric for the top: an embroidered net with abstract 3D flowers. I positioned each pattern piece carefully on the fabric to ensure I was making the most of the embroidered sections, then removed and re-stitched any flowers that were too near a seam or in an awkward position. I also attached a scattering of the flowers to the the skirt once I had sewn the top to the skirt so the dress would look like a complete ensemble rather than separate pieces. Because the top was sheer, I used couture construction methods like French seams, and a hand-finished bound neckline to ensure the dress would look perfect in every close-up. 

Time is money, so speed is of the essence when it comes to fast fashion. Pattern pieces will be cut from fabric in the most economical, not the most aesthetically pleasing way, and finishings will be basic, usually relying on overlocking or topstitching to ensure a neat, if not beautifully crafted, finish. 


I hope this post has demonstrated some of the differences between fast fashion and bespoke clothing, and illustrated why bespoke costs more! I find it interesting that while most women will get their wedding dress altered, even if they aren’t getting a completely bespoke dress, they probably wouldn’t consider doing the same for the rest of their wardrobe. Yes, you are likely to be photographed more in your wedding dress than in any other outfit, but (usually) you only wear it once.

Applying that “I deserve to look marvellous” mentality to the clothes you wear most often could have plenty of benefits beside making you feel photogenic. Well-fitting clothes will make you feel more comfortable, and if you’re satisfied with your clothes you’ll wear them for longer, rather than discarding them and continuing the never-ending search for that elusive perfect garment.

Having clothes fitted can be a nerve-wracking experience (although I think in the case of the wedding dress I was more nervous than Rosie!) but it shouldn’t be, if the focus is on the right thing. Everyone’s body is unique, but clothes sizing is generic. If we can remember that it’s the clothes that are the wrong size, not our bodies, then we can take a step towards a better relationship with our bodies and our clothes.


* All the photos-within-a-photo were taken by the amazing Emma, who runs her own wedding photography business, Epic Love Story. You can find her (and more photos of Rosie and Jon's wedding!) on her Instagram.

Thursday, 7 June 2018

Top to toe alterations: how to hem your clothes

It is a truth universally acknowledged that a short woman in possession of several maxi dresses must be in need of a good hemming tutorial!


One of the reasons our clothes might not get worn very often is poor fit, and this can apply vertically as well as horizontally on the body. I’m a little bit shorter than average, and I own several maxi skirts and dresses that are just that little bit too long. I've made the mistake of wearing them thinking they would be fine, and then realised they really wouldn’t be. I’ve tripped on the stairs at work while carrying coffee, nearly got a floaty hem caught in the escalator at a tube station and noticed that the streets of London are much too dirty for nice clothes to trail on the ground!

There are several ways you can alter the hem on your clothes, depending on whether you have a sewing machine, an overlocker or just your hands. I’ve had several hems to alter recently, so here are some examples of various techniques.


A herringbone hem, by hand

The hem on this vintage dress has been finished off with a lace trim, and secured using a blind hemming machine. Unless you work in an industrial sewing facility you are unlikely to have access to a blind hemming machine, but it’s easy enough to replicate a similar stitch by hand.


For this stitch, you sew “backwards” (i.e. towards the hand you sew with). I am left handed, so apologies to right-handed people if this is confusing, but this might be a nice opportunity for my fellow lefties to benefit! To start, secure your thread to the hem allowance, then make a tiny stitch into the fabric just above the hem allowance, with your needle pointing “forwards”. Bring your thread back towards your sewing hand, and make another small stitch in your hem allowance. The thread will form a crisscrossing pattern over the edge of your hem allowance, while the only thing visible on the right side of the garment will be the tiny stitches you have made in the fabric.


The only disadvantage to this stitch is that it can cause the appearance of a ridge or line on the garment if it is made of quite a thick fabric, and some shoes could get snagged on the stitches! To avoid this, you can do the same stitch between your hem allowance and the fabric of the garment, like I have done here with this lovely pair of wide-leg trousers that were much too long! Fold down the top centimetre of the hem allowance towards you, then herringbone in the same way.


A topstitched hem, using a sewing machine

This ripped hem was the result of my trip on the stairs, and the point where I could no longer ignore the fact that this skirt was a bit too long! The skirt had ripped just above where the original hem allowance finished, so I cut this off all the way round the skirt, then replicated the original hem.


I pressed a 1cm hem allowance all the way round the skirt, then folded this up on itself again and pressed the new hem edge, so the raw edge of the hem allowance would be hidden.

I machined the hem from the right side of the skirt (known as “topstitching”) using the measurement gauge on my sewing machine to make sure I was catching the seam allowance on the wrong side.


A babylock hem, using an overlocker

An overlocker (or serger) is a specialist sewing machine that uses three or four threads to finish off a fabric edge, or stitch two edges together. It has a built-in blade that trims away excess fabric as you sew, so it’s not suitable for every job, but is great if you want to work with stretch fabrics or give homemade garments a professional looking finish. As well as seams, overlockers are useful for edges; this fine “babylock” edge can be used on a lot of floaty fabrics.


It’s a surprisingly robust finish; this skirt didn’t tear when I caught it in an escalator, but it did give me enough of a fright to resolve to sort out the hem! When I put it on I could see that the front and back of the skirt had “dropped” - this is quite common on circle skirts where the part of the skirt hanging from the waistband on the bias stretches a bit (or a lot!)


I levelled the hem on my dressmaking stand, then cut off the excess fabric, leaving a few millimetres for the blade on my overlocker to trim off, to get the neatest possible edge. It took a few minutes to change the settings on my overlocker, and then the job was done in no time at all!


I know it’s tempting to reach for the iron-on hemming tape, but I hope this tutorial will encourage at least some of you to pick up a needle and thread instead and give your garments a professional finish.

Thursday, 24 May 2018

Fixing fast fashion: adding pockets to your clothes

“I like your dress”
“Thanks! IT HAS POCKETS!”


If you’ve spent any time on the internet in the last few years, you’ll probably be familiar with this meme. If you’re a person who wears dresses, chances are you will have said exactly the same thing when someone compliments your outfit.


Everyone seems to love pockets, but fast fashion cost-cutting means that they are often left out of dresses, skirts and even some trousers designed for women. Visiting the Balenciaga exhibition at the V&A last year, I was struck by how many of the couture evening coats and capes had pockets; private clients must have been requesting pockets for occasionwear as well as more practical everyday clothes. It is frustrating that at a time when we have devices that help us to live our lives on the go, we have nowhere to store these devices about our persons. My smartphone is at the small end of the scale, and I wouldn’t trust it to stay put in some trouser pockets. Rachel Charlton-Dailey points out the disparity between the sensible-sized pockets in clothing designed for men, and the frequently useless or fake pockets in womenswear in her article for the Nopebook,  Pockets Are A Tool Of The Patriarchy.


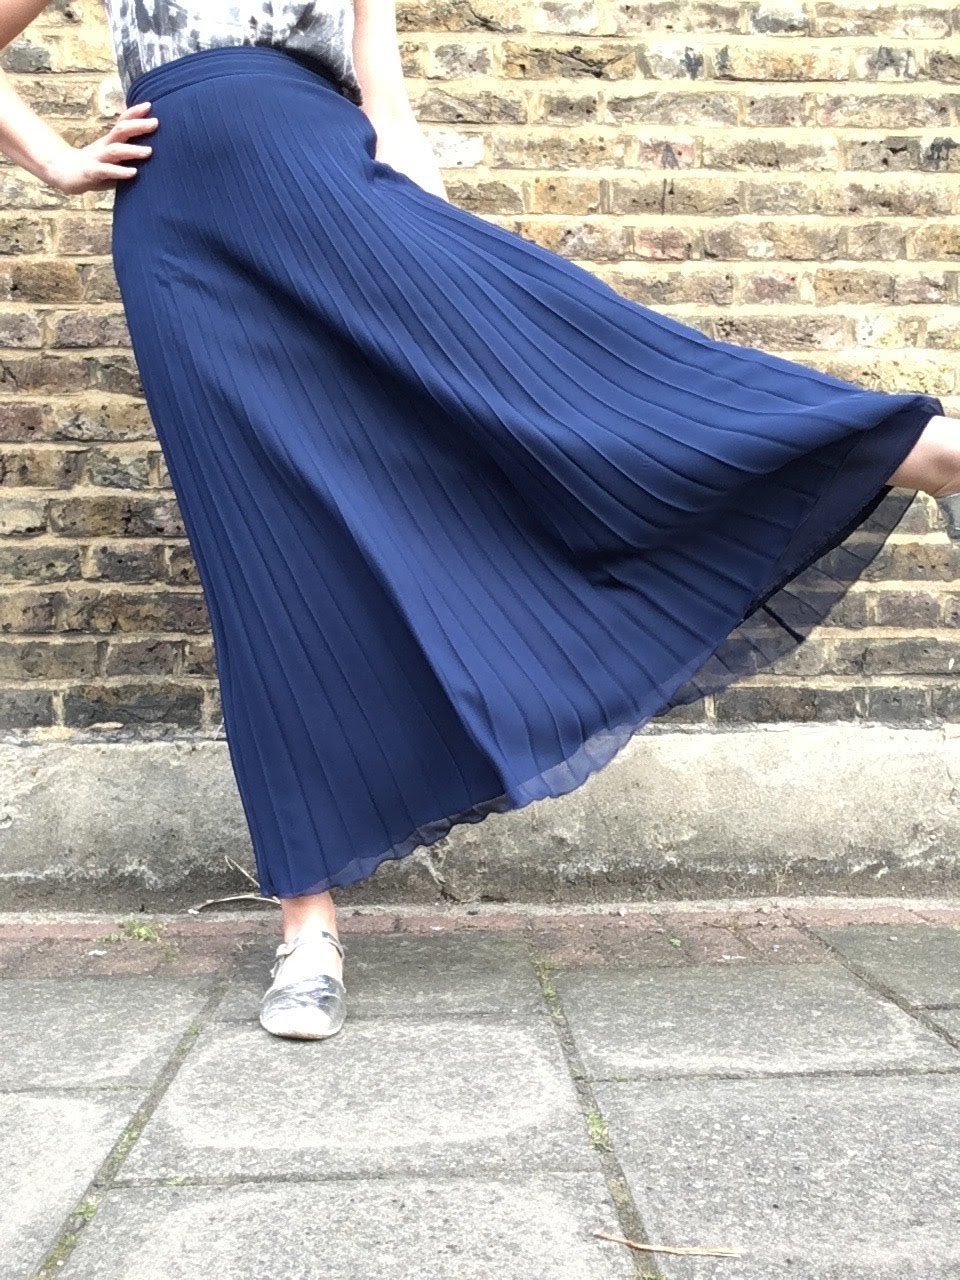
One solution is to add pockets to our own clothes, the easiest of course being a patch pocket, a square or rectangle stitched onto the garment around three sides. If you prefer a pocket that is less of a design feature, it’s easier than you might think to add a pocket into the side seam of any garment that isn’t skin tight. I’ve chosen this skirt to demonstrate on as I was going to shorten it to mid-calf anyway, so I’ll have enough fabric to make my pocket bags from the piece I cut off the hem. If you want to add pockets to a garment that you aren’t planning to alter, buying a piece of fabric about 30-50cm wide in a similar material to your garment should give you enough to make two pockets. 


To work out the size of my pocket bag I used my hand as a guideline; allowing at least 3-4cms all the way round means I have a decent sized pocket and enough seam allowance. 


I cut out two pairs of pockets (4 separate fabric pieces) and overlocked them together around the bottom and ‘inside’ edge. It’s easy to do this with a regular sewing machine too: sew a line 1cm away from the edge of the fabric, then use a zig-zag stitch on the edge to stop the fabric from fraying.


I am extending my pocket bag up into the waistband to anchor it more securely, but you can cut your pockets without this if you are short on fabric. If you’re doing this, your fabric pieces will look more like a pair of mittens without thumbs, so you can sew all the way around your pocket pieces at this stage, just leaving the opening for your hand.


You will need to unpick a section of the side seam of your garment to insert the pocket; it’s easiest to start at least 3-4cm below the waistband. I unpicked a section that was 15cm long, then backstitched the ends of the original seam so that they wouldn’t unravel any more. I then marked a 15 cm gap on the open edge of my pocket bag and finished off the edge above and below these marks, leaving a 1cm seam allowance around the open edge of my pocket bag.


To attach the pocket, pin the seam line on your garment to the seam line on your pocket bag with the right sides facing each other. Machine stitch all around the opening of the pocket, then finish off the raw edge with a zig-zag stitch.


You can then press the edges of the pocket so they lie flat and don’t show against the edge of the garment. If you are attaching the top of the pocket bag to the waistband, you can do this by hand if you don’t want to open the waistband up. Otherwise, you can pin the top edge of the pocket bag into place and sew from the right side of the garment so your stitch line will be as unobtrusive as possible.


And... you’re done! Sling your phone, keys or bus pass into your new pockets for a low maintenance life on the go. Now, when someone compliments you on your outfit, you’ll be able to say “Thanks! It has pockets!”